- Week 10
- March 13'23

Graduation Project — Artefact #1
Refining the shape of artefact 1.
I wanted to refine the shape of artefact 1 to add some more details on its form and to make it look more organic. First I disasembled the pieces and tried to figure out how to connect them without making it look too rigid. I found that by attempting to fit the cylindrical parts into the previous one rather than connecting them right on the corners and letting the shape bend on its own helps to
Things to fix:
(1) Form
(2) Add fringes
(3) Make stronger base platform to stand
I found some spare blue styrofoam boards in studio which I thought would make very nice base pieces for the artefact. I taped two layers of the foam to add more weight on the bottom.
In terms of its shape, even though the foam will be coated in plastic, I wanted it to look a bit more rounded like the original sketch. I used a red marker to outline the shape I wanted to cut the foam into as guidelines.
I slowly chipped away on carving the foam. I tried to make the edges be rounded and clean by cutting them in an angle with my pen knife.

I went through several considerations on how to make the artefact stand upright. It was important for it to be detachable from the base in case something happened and I needed to fix the wiring inside.
In the end, I used metal rods as supports for the structure. I made a hole through the two layers of foam to make sure it stays in place.
Making another plastic fabric sheet to coat the base
I cut out some more plastics to make a fabric for the base. Because the foam is blue, I picked out plastics with bright, solid colors to hopefully cover it. In order to securely wrap the base with fabric and made sure it held its shape, I ironed over the whole structure so that the fabric also takes the form of the foam.

Graduation Project — Artefact #2

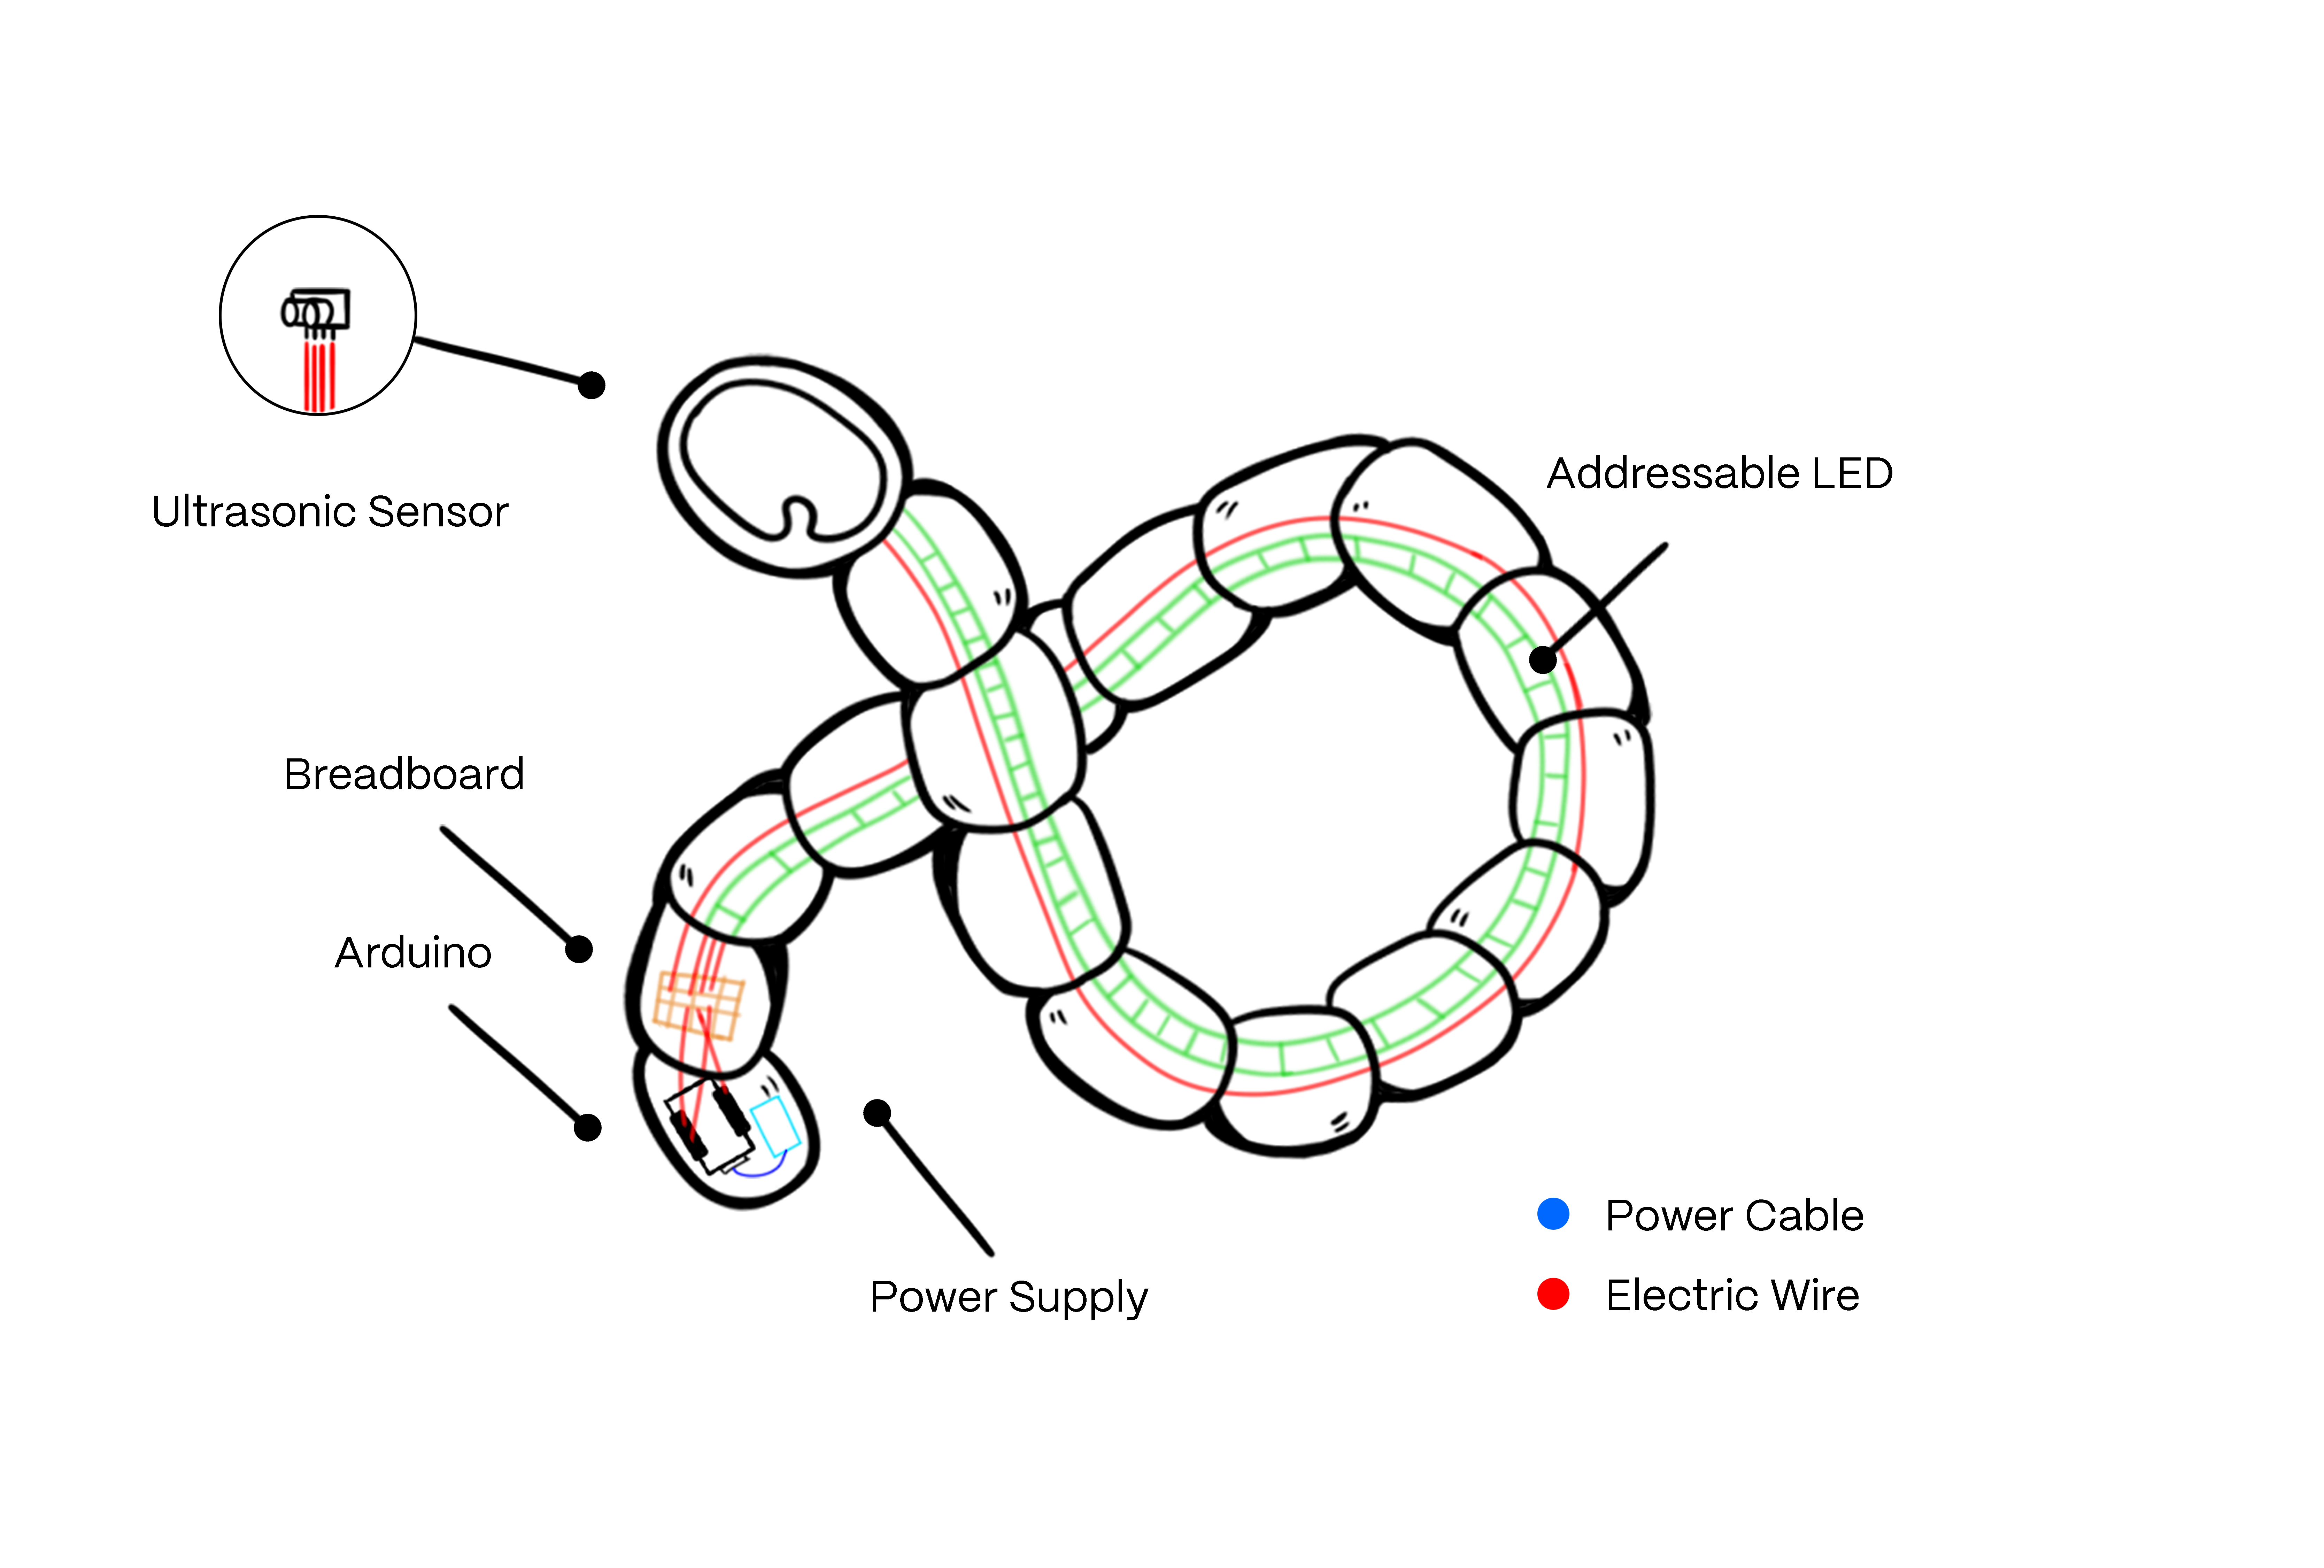
Sketch of artefact two.
After my exploration with the addressable LED and ultrasonic sensor last week, this time I wanted to focus on the making of the artefact itself. The form would be based off of a microbe called the cyanobacteria which falls under the category of phototrophs living within the plastisphere community.
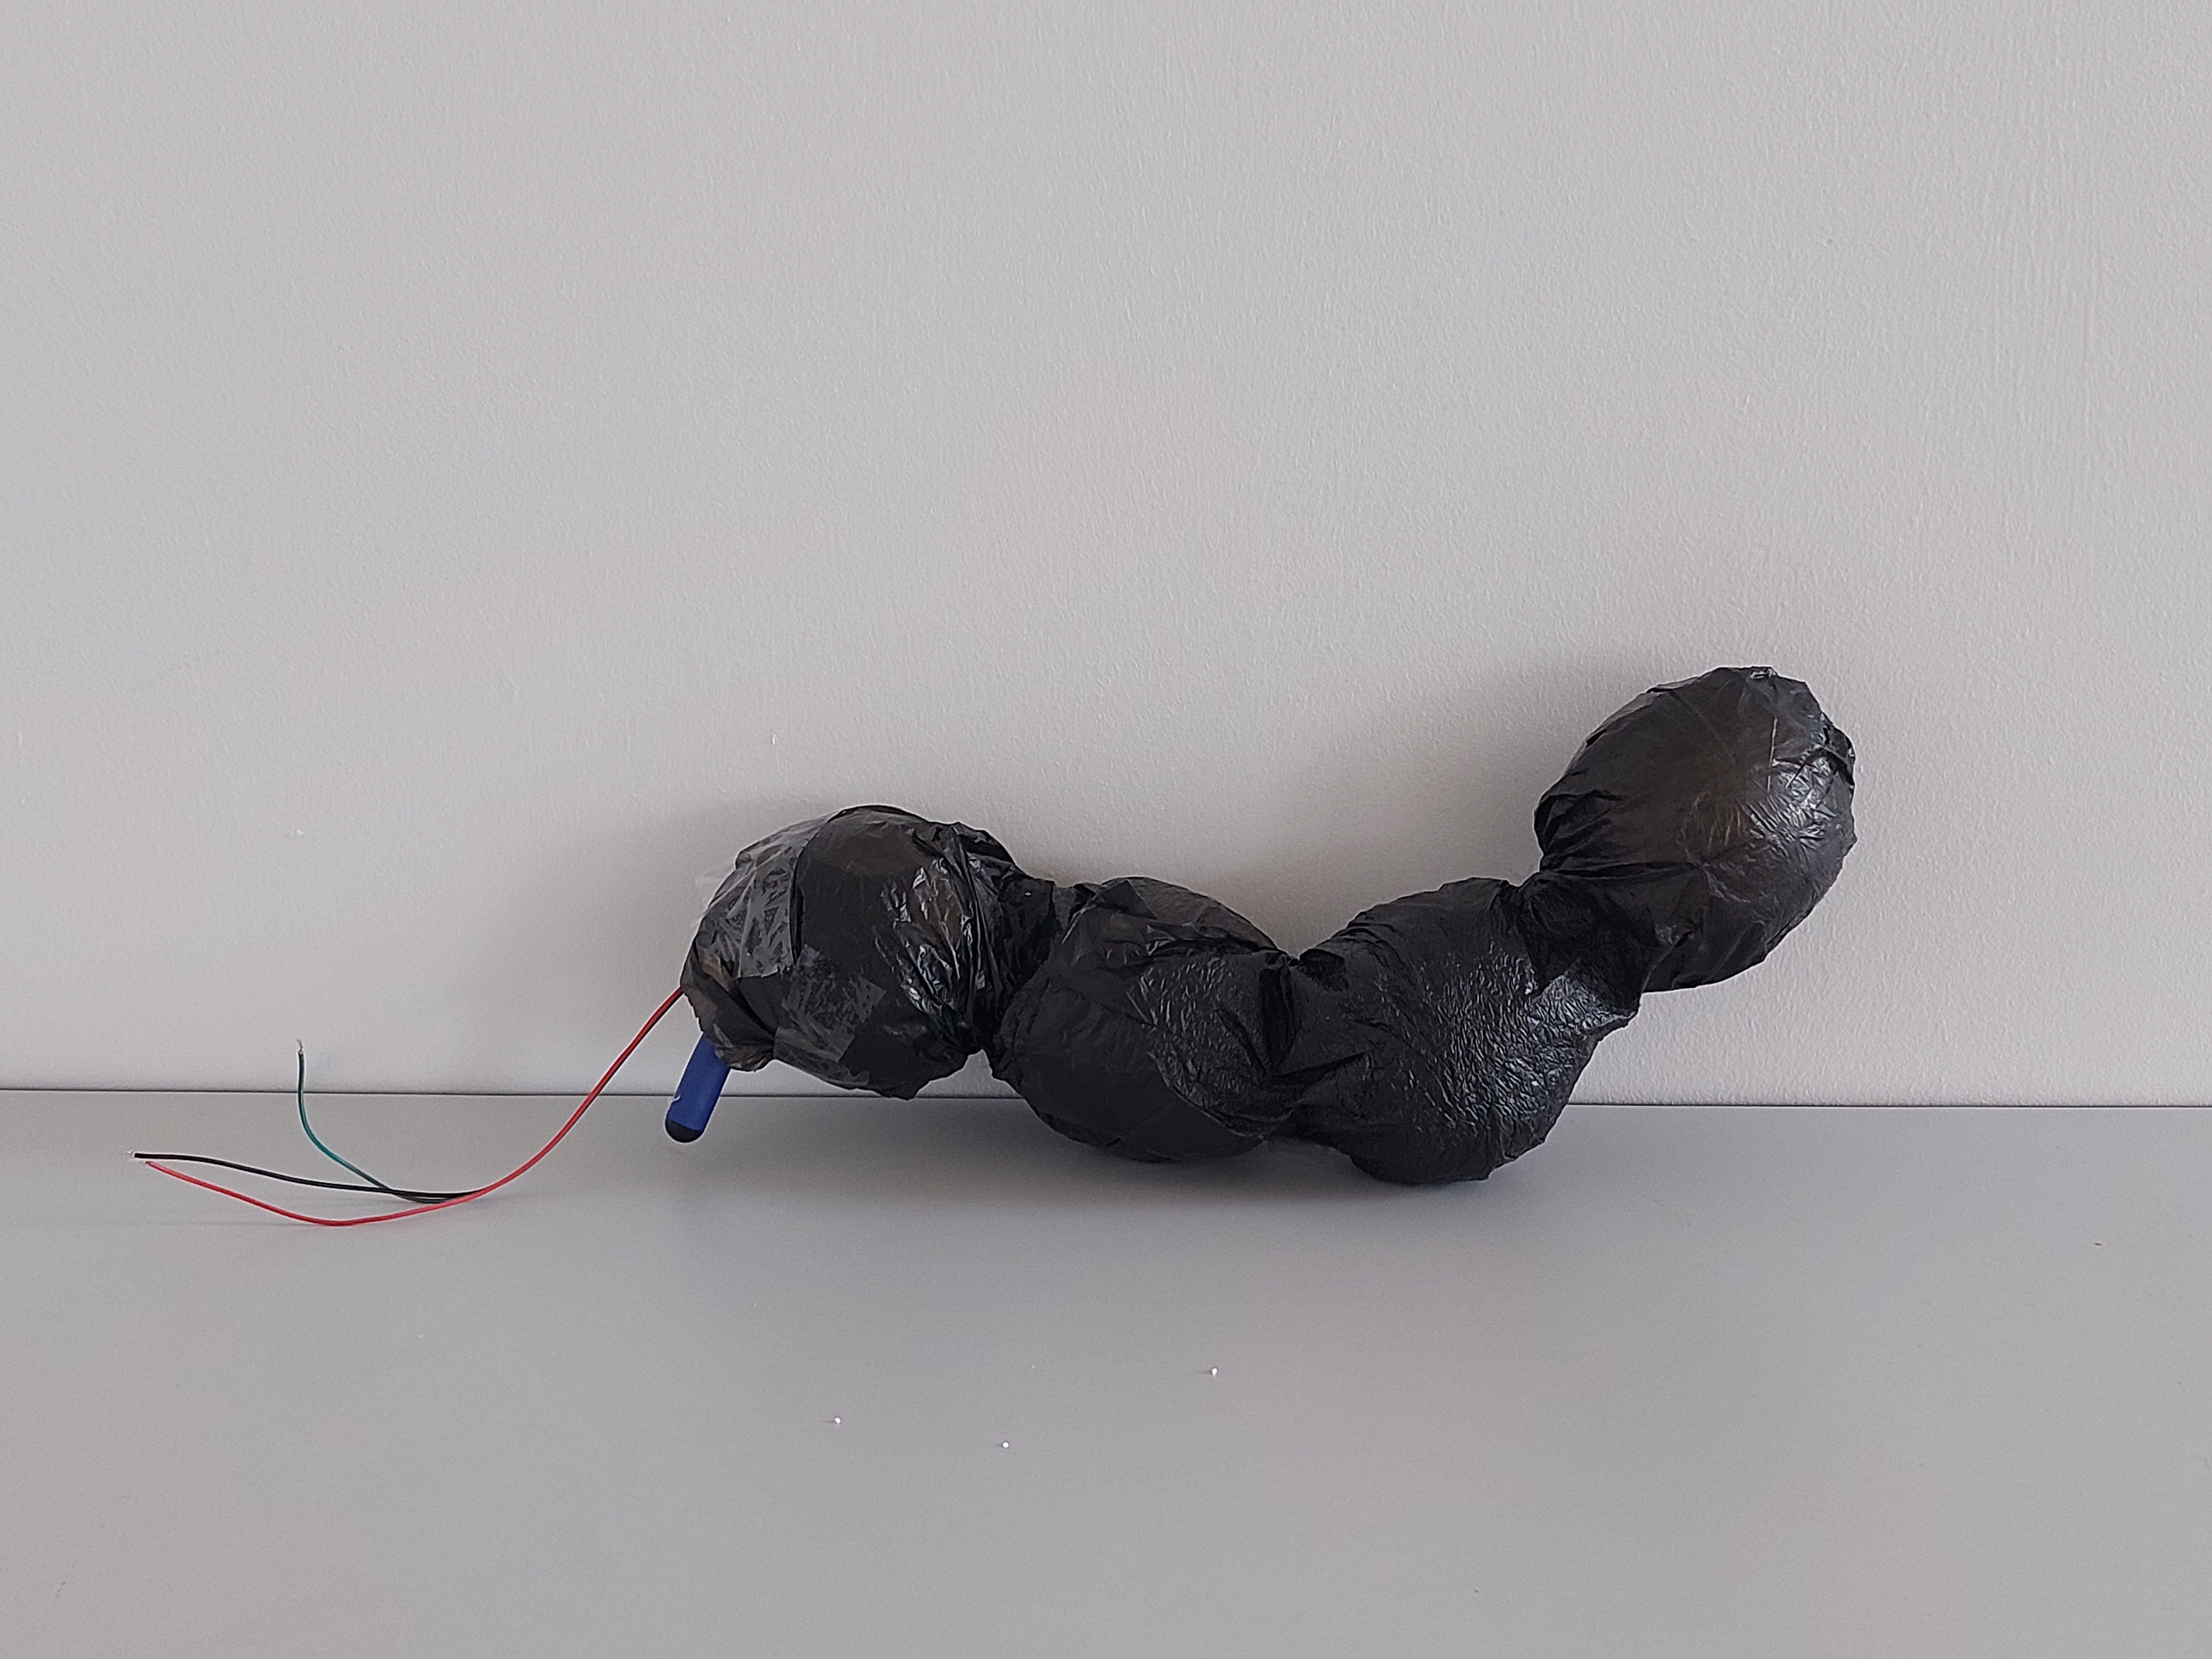
I envisioned the final artefact to be huuge and wraps all around my imaginary exhibition structure. But of course its important to start small first. After speaking to Andri & Tito last week, I decided to give their suggestion a try and bought some twist cable ties to use as the inner skeleton of the structure. I was pleasantly surprised with how bendable and flexible it is, and how easily it could support its own weight. For the first exploration, I stuck the addressable LEDs unto the cable and tried packaging it with a layer of black plastic bag.
For the color palette of the lights, I found a code that displays a wide range of possible colors & effects (blend/nonblend) that I let run to test!
Color palettes:
↘ Link to codeif( lastSecond != secondHand) { lastSecond = secondHand;
if( secondHand == 0) { currentPalette = RainbowColors_p; currentBlending = LINEARBLEND; }
if( secondHand == 10) { currentPalette = RainbowStripeColors_p; currentBlending = NOBLEND; }
if( secondHand == 15) { currentPalette = RainbowStripeColors_p; currentBlending = LINEARBLEND; }
if( secondHand == 20) { SetupPurpleAndGreenPalette(); currentBlending = LINEARBLEND; }
if( secondHand == 25) { SetupTotallyRandomPalette(); currentBlending = LINEARBLEND; }
if( secondHand == 30) { SetupBlackAndWhiteStripedPalette(); currentBlending = NOBLEND; }
if( secondHand == 35) { SetupBlackAndWhiteStripedPalette(); currentBlending = LINEARBLEND; }
if( secondHand == 40) { currentPalette = CloudColors_p; currentBlending = LINEARBLEND; }
if( secondHand == 45) { currentPalette = PartyColors_p; currentBlending = LINEARBLEND; }
if( secondHand == 50) { currentPalette = myRedWhiteBluePalette_p; currentBlending = NOBLEND; }
if( secondHand == 55) { currentPalette = myRedWhiteBluePalette_p; currentBlending = LINEARBLEND; } }
Thoughts & Observations

Maybe make a hole through a styrofoam ball
Inner skeleton
The twist tie foam definitely helps with the structure of the artefact and allows it to stand, however I still need to explore methods to make the spherical shapes regular. Each section of the artefact was made by individual strips of the plastic fabric and I taped them in a way that made sort of spherical shape but it could be emphasized more. I tried using wires but its difficult to make a sphere and because the fabric was made thin, so that the light can be seen through, its very easy to deform.
I found that the stiffer part of the fabric is way easier to shape so I'll keep in mind in the future to thoroughly iron the plastic fabric so that it forms a proper sheet. Possible methods to shape the spheres are using styrofoam, paper pom-pom balls, zip ties (?)

Next steps: (1) test with other material for the inner skeleton, (2) plan how to embed sensor & wiring, (3) decide size of the artefact.
Second Trial
Styrofoam balls and twisty cables
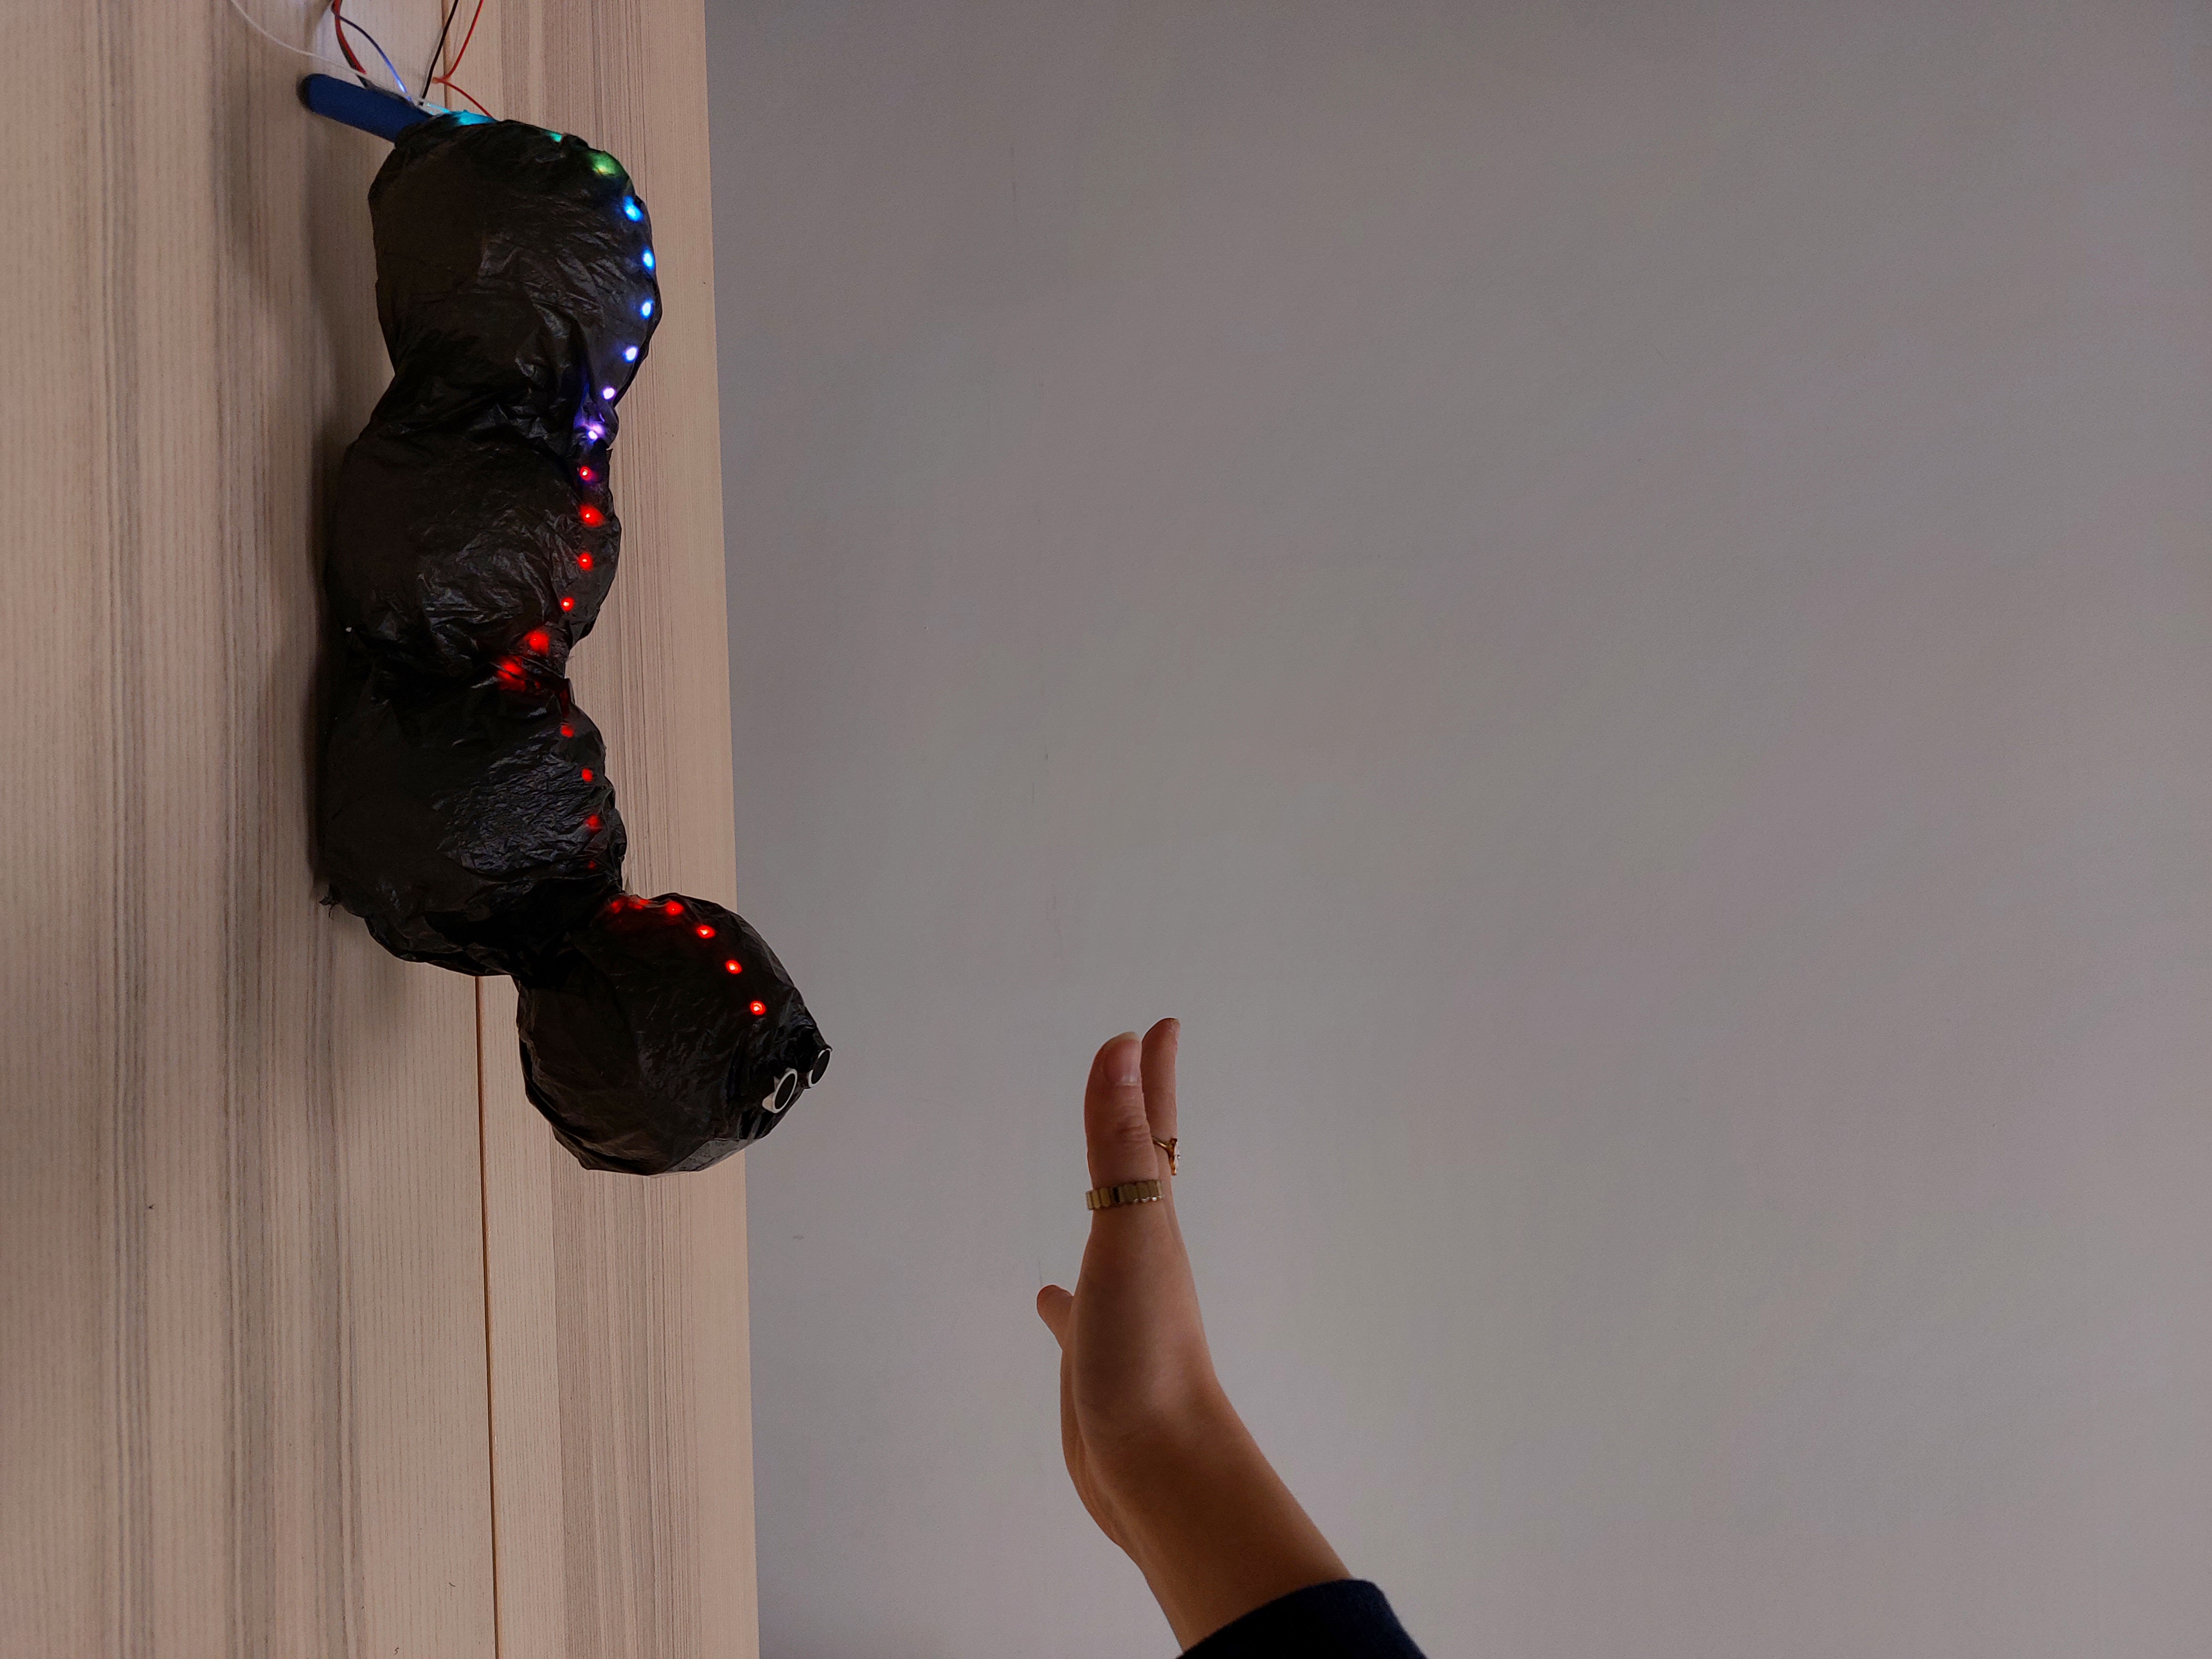
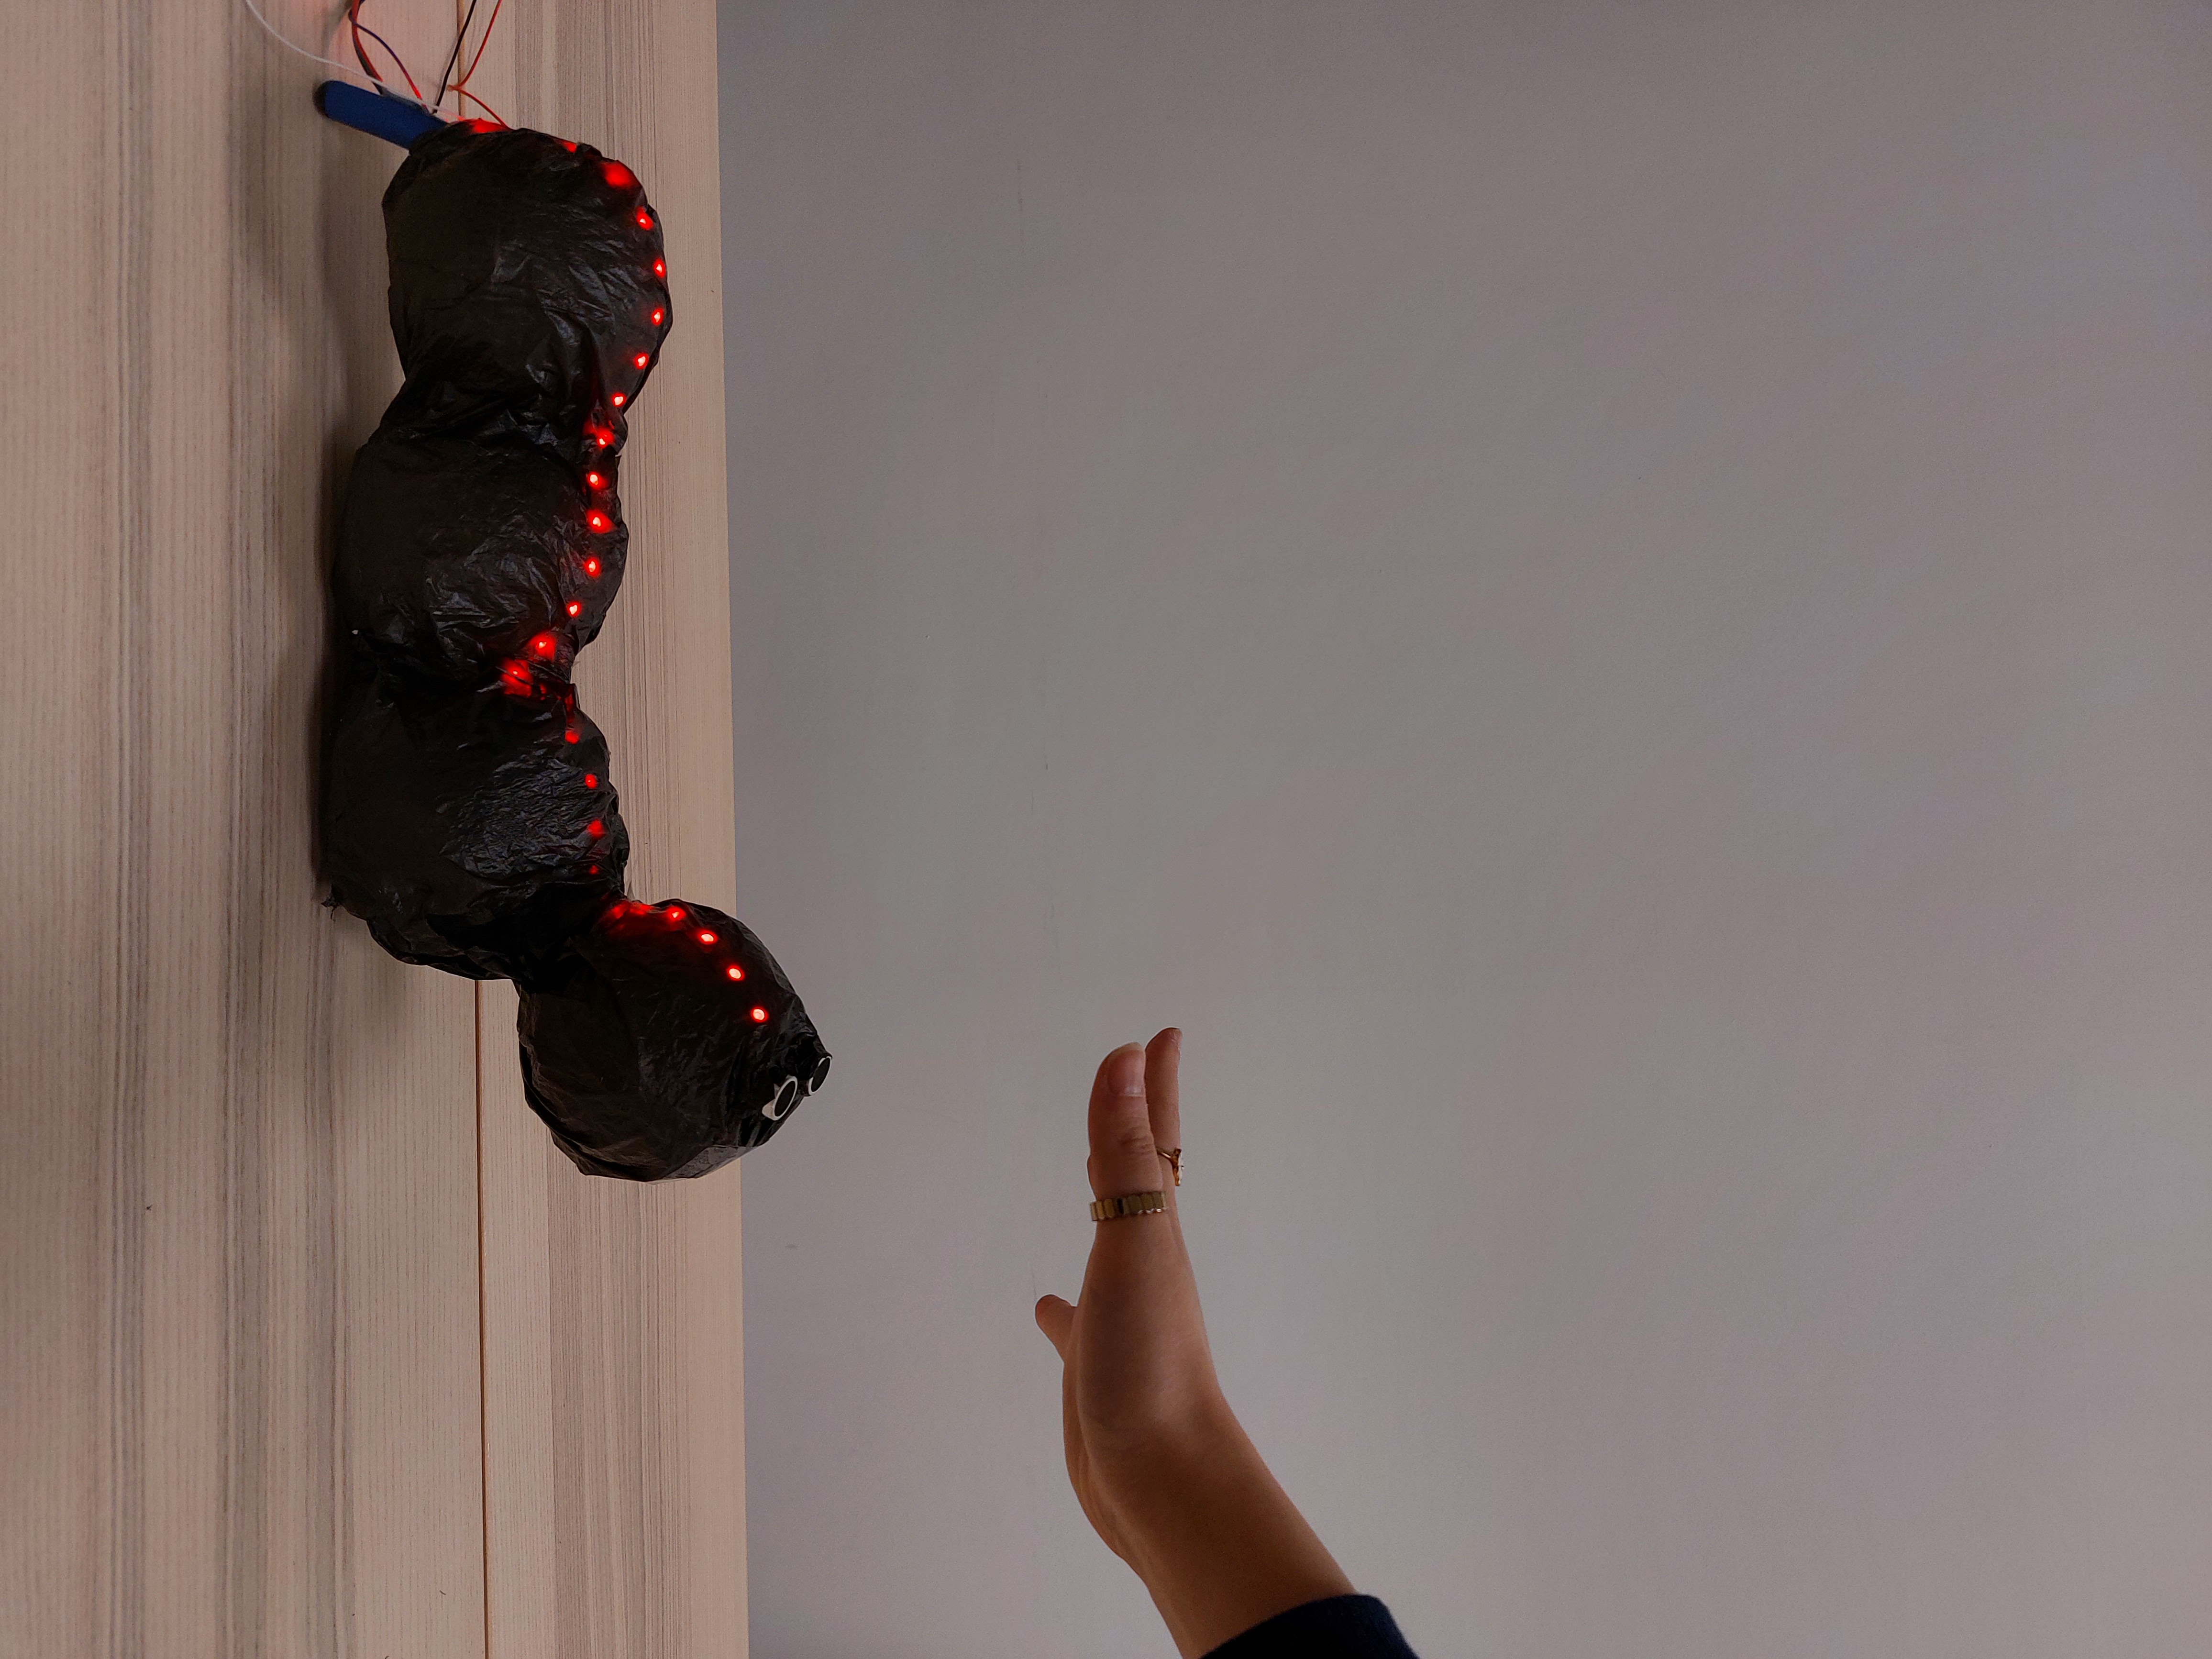
added brightness, when approacheed completely off. when from outside, turns red. layer test.

test
Graduation Project — Artefact #3
Styrofoam balls and twisty cables
added brightness, when approacheed completely off. when from outside, turns red. layer test.
3. Planning for open studio
Presenting our work in progress
To plan for the Open Studio dry run happening next week, I started to sketch possible ways to present my work.s


