- Week 11
- March 20'23

Graduation Project — Artefact #2
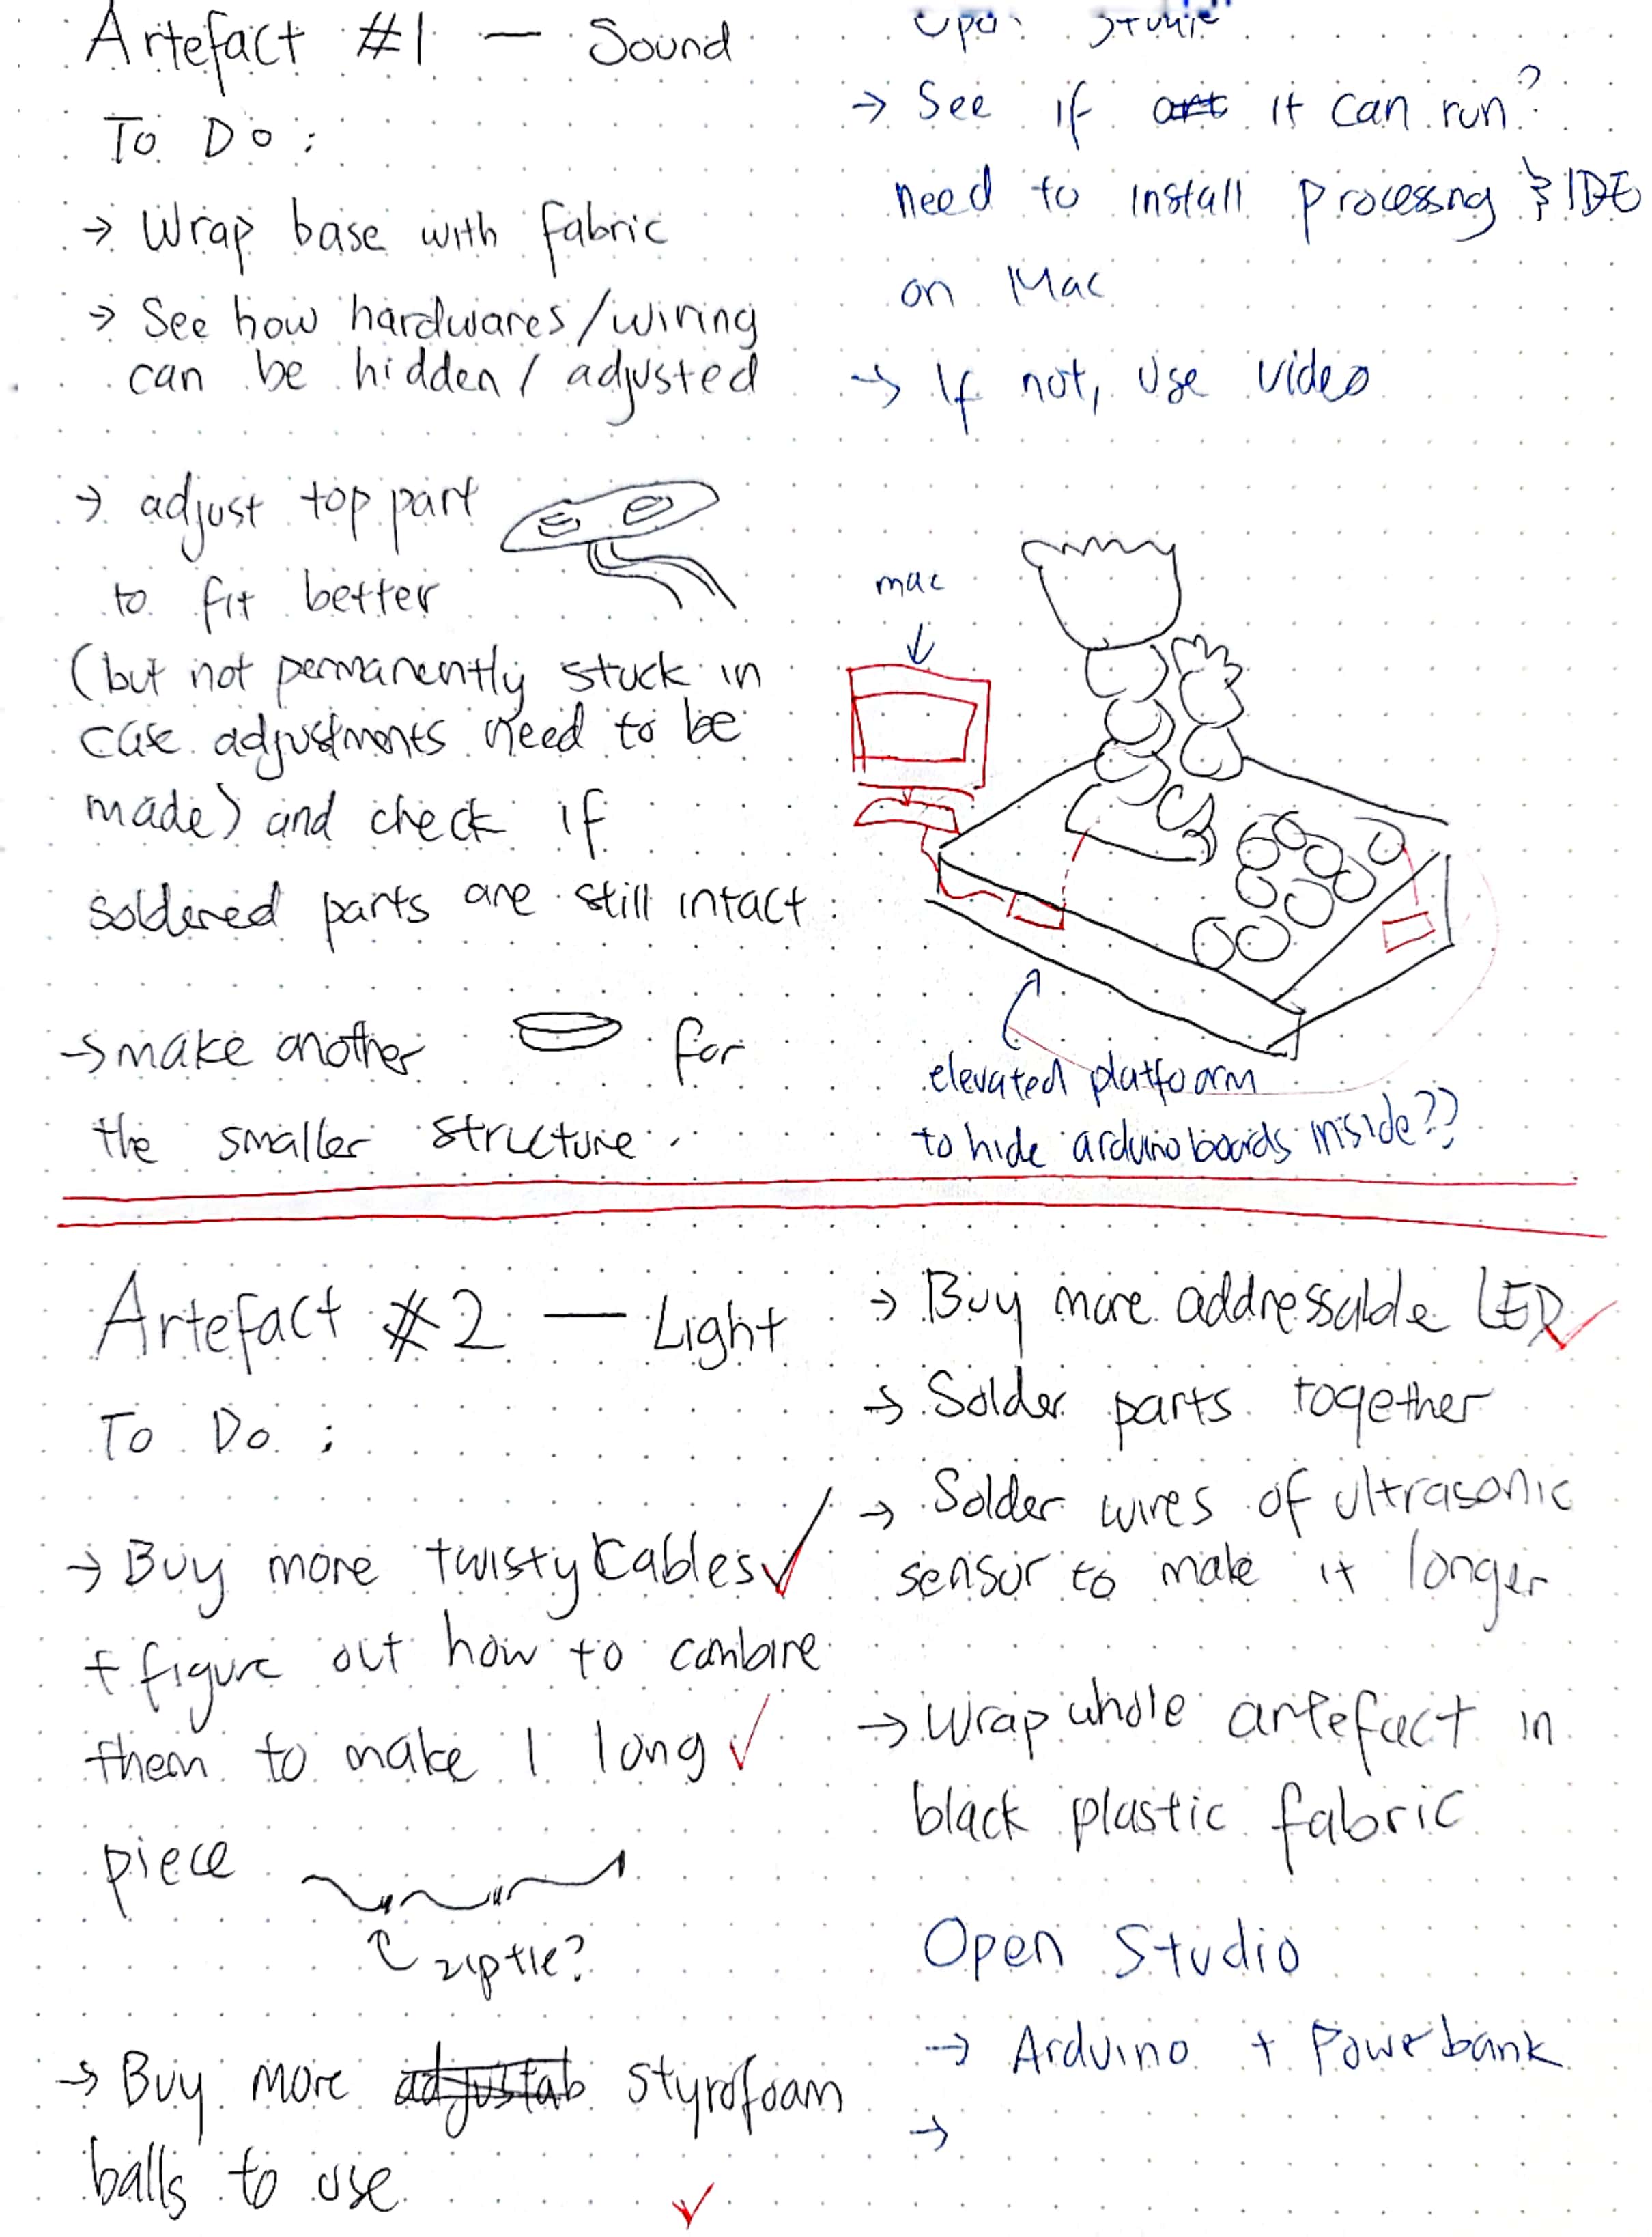
Crafting artefact two! After the small prototype last week, I got started inmaking the artefact. Since I want the structure to be long, I needed the cable ties to be longer too. I couldn't find any longer variant of the 30cm one in daiso so I instead I connected them together using a ziptie.

3. Consulting Tito & Andri
I shifted my layout a little bit from the previous iteration to better group things together. I placed the research, material studies and name card at the start of the table, while the artefacts are all placed on the other end.
My layout I presented during class was still a work in progress and I had said that I was going to add more information on the walls. But then actually Andreas said that we should try not to depend on the walls because thinking ahead to our grad show space where we will not be given walls. He also demonstrated how my artefacts would look on a pedestal and how it might add to its presentation and make it more gallery-piece like.
In terms of displaying our works, something Andreas highly recommends that we try experiment with is using elevated platforms made by stacking materials. Perks of elevating our works is that we are able to create distinct seperate 'islands' within our table layout so as to ease the audience to understand the narrative of our project. And I think it also looks sophisticated and cool. He demonstrated with a couple of wood and acrylic pieces he had brought in and made a mock-up display using Aditi's plants.
Fixing the soldering

Improving my soldering skills!
Soldering workshop
We had a casual soldering workshop this week with a couple of my classmates. Andreas taught and demonstrated to us how to solder wires together and how to solder on a solder breadboard. Something I noted that I had been doing wrongly is that I used to push the solder wire unto the soldering pen itself and then sort of try and shift the solder onto the wire. This method is wrong because then the solder would just stick to the pen and will have a higher chance of burning it. Instead, we should press the pen against the wire and then push the solder wire right where they meet so that as the pen heats it, the solder melts and sticks unto the wire.
Addtionally I also learnt about a new tool, the solder sucker (?). It kinda looks like a syringe and its used for desoldering and to to suck up solders when we need to.

Thoughts & Observations
4. Prepping for Open Studio
I shifted my layout a little bit from the previous iteration to better group things together. I placed the research, material studies and name card at the start of the table, while the artefacts are all placed on the other end.
Notes from Andreas:
Creating a narrative from the table layout
In terms of setting up an exhibition for my project, he suggested that I should just go bonkers in the planning first before narrowing it down in the end. As a starting point, something I could do is to roughly sketch thumbnails of the exhibition layout. From there, I could start considering the small details such as the ethics of the exhibition (e.g. not using any sticker labels because it adds to plastic waste), the main focus of the exhibition that draws people in and how to make it eye-catching, interplay between the educational and experiencial part of the exhibition, and so on.
Table layout draft 1
Filtering slide contents
4. Dry run: table layout draft 2
For class on Thursday, we are conducting a dry run for our Open Studio setup.
I shifted my layout a little bit from the previous iteration to better group things together. I placed the research, material studies and name card at the start of the table, while the artefacts are all placed on the other end.
Class feedback

Andreas demonstrating how the artefact's presentation is elevated using a pedestal.
My layout I presented during class was still a work in progress and I had said that I was going to add more information on the walls. But then actually Andreas said that we should try not to depend on the walls because thinking ahead to our grad show space where we will not be given walls. He also demonstrated how my artefacts would look on a pedestal and how it might add to its presentation and make it more gallery-piece like.
In terms of displaying our works, something Andreas highly recommends that we try experiment with is using elevated platforms made by stacking materials. Perks of elevating our works is that we are able to create distinct seperate 'islands' within our table layout so as to ease the audience to understand the narrative of our project. And I think it also looks sophisticated and cool. He demonstrated with a couple of wood and acrylic pieces he had brought in and made a mock-up display using Aditi's plants.
Moving tables!!

5. Weekly Roundup
Re-planning the layout

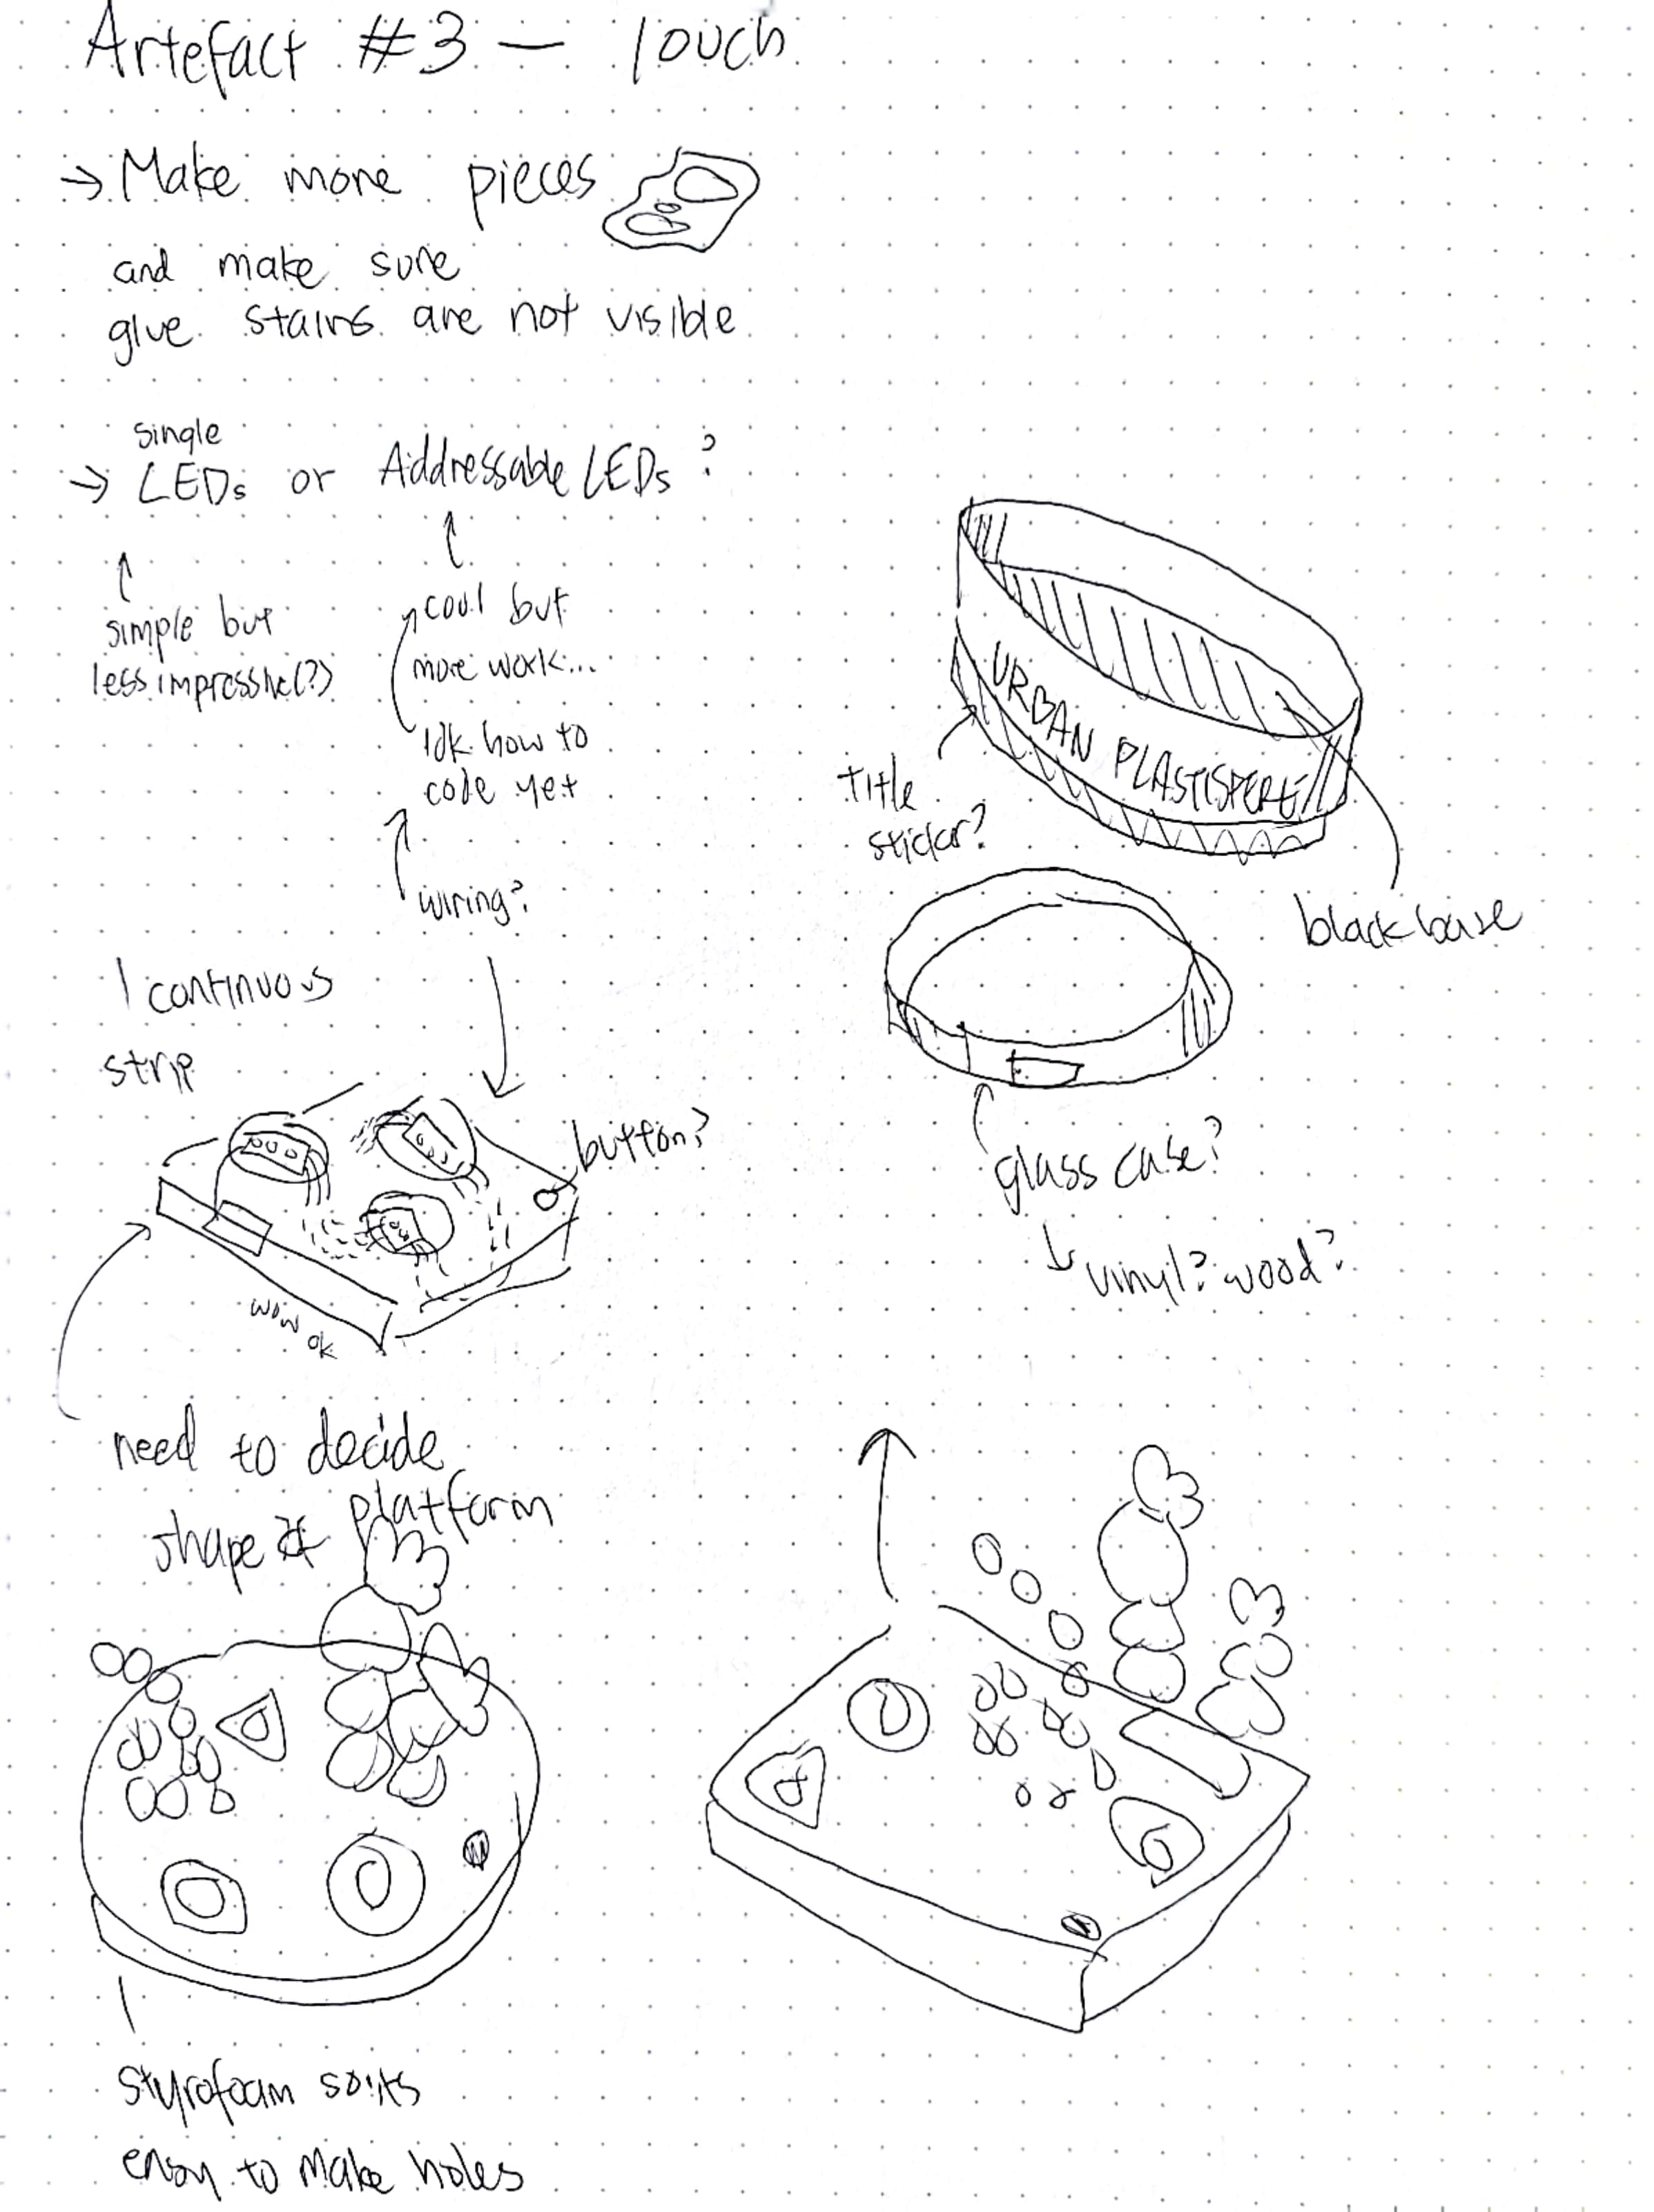
To plan for the Open Studio dry run happening next week, I started to sketch possible ways to present my work.s
Important things to keep in mind
(2) Presentation
What draws people to your table? How do you present the information and artefacts so that it goes beyond the object itself but connects to the broader narrative of your project? How do you design the table layout for storytelling purposes?
(1) Communication
How to effectively connect and communicate the entirety of my project? Information to include or exclude, additional design collaterals for communication purposes.
(3) Misc
1. Working artefacts
Need 2 more Arduino Uno boards for the 2 other artefacts. Can buy or ask if Andreas has any spare. Need powerbank for light-based artefacts so that it will work. Sound-based artefact need to be connected to laptop so can think about if I want to make it work or just use a video. If I have 1 mac to use, then need to decide if I want to use it to run the code or play video of the artefact working.
2. Darkness
Since 2 of the arteafcts are using light as an output, the darkness of the surrounding area will need to be considered so that the lights are able to be visible.
3. Feedback form
Leave something for people to leave their feedback on
4. Fun, playful things people can take
Small plastic experiments? Keychains? Stickers? Post-cards? Mini-zines?


